Starfield photo mode
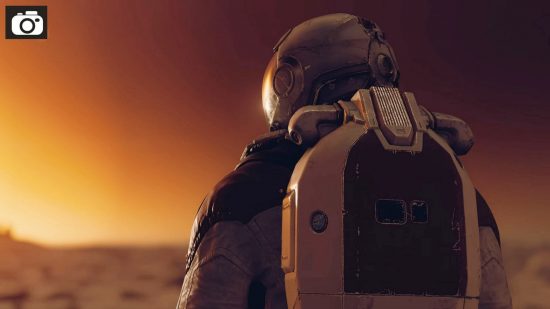
Seen something particularly awe-inspiring, or just want to capture an epic moment? The Starfield photo mode has you covered.

Starfield has a dedicated camera option with the Starfield photo mode, allowing you to snap a picture or screenshot whenever you want. The options are much more extensive than initially anticipated, so we’ve compiled a complete guide for capturing the best Starfield photos.
Once you’ve used the Starfield camera, you can find them in your Documents\My Games\Starfield\Data\Textures\Photos area by default.
If you’re more interested in finding things to photograph, check out our full Starfield locations and creature databases.
Entering Starfield photo mode
To enter the Starfield photo mode, all you need to do is open your scanner tool and press RS (right-stick) if you’re using an Xbox controller. Here you will enter a free-camera mode, allowing you to fly around your surroundings so you can capture the best possible angle.
Starfield photo mode options
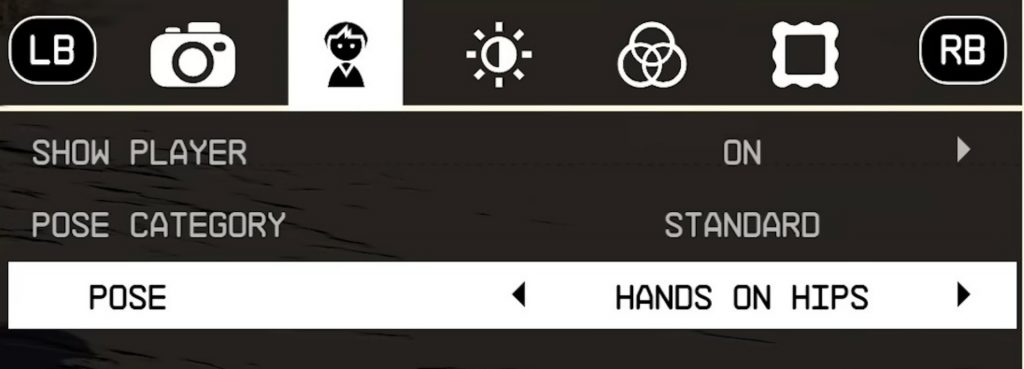
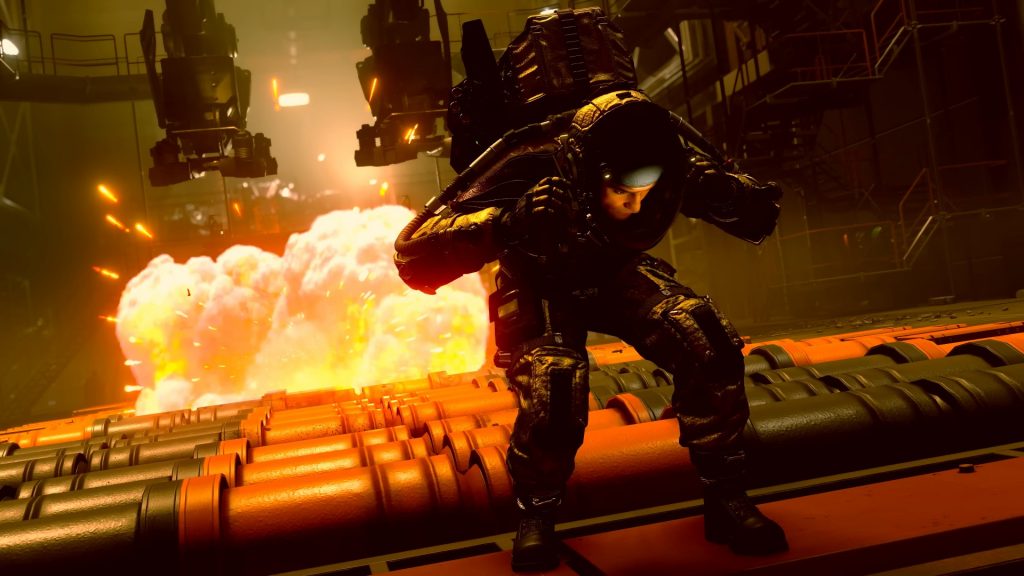
Inside of the Starfield photo mode, you can do more than just snap a picture. You can toggle whether your player character is visible – great for if you’re only interested in the landscape – or change what pose you want to take. We’ve seen sitting, hands on hips, jumping, and there are no doubt a ton of other options in store.
You also have access to brightness controls, filters, and more that has yet to be explored.

How to get the best Starfield photos
Location, location, location is one of the single most important aspects to a great Starfield photo. Our fully updated planets and locations databases can help you pick the right location for your photo shoot, but you might also want to keep an eye out for alien creatures to add a little flair to your scene.

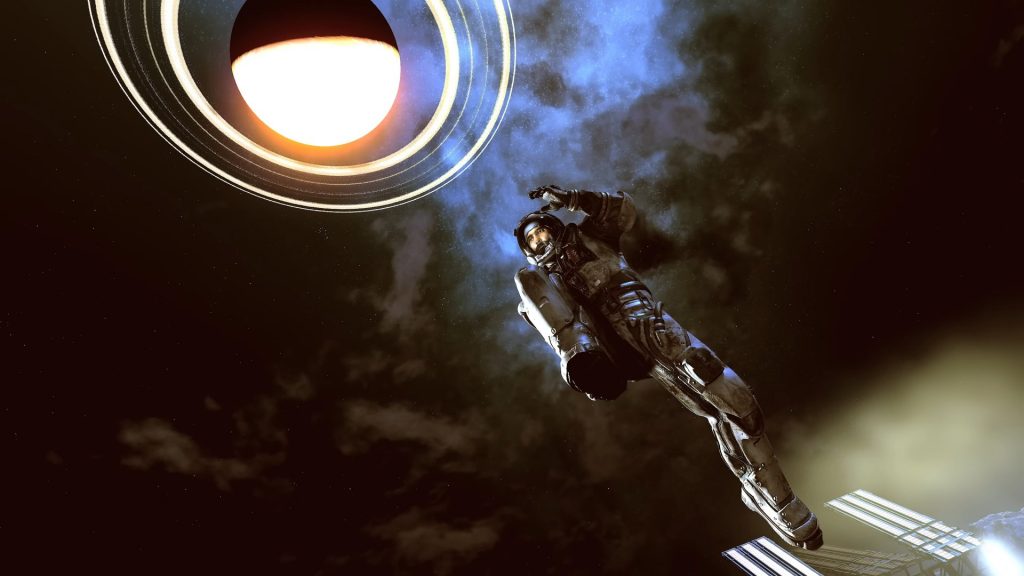
Play around with perspective by angling and moving the camera. Not only can it enhance your subject, but it can also inject some humor into your shots.

Ultimately, let your imagination go wild, and be sure to share you best snaps with us on Twitter.